

Kimi Code
Install and configure Kimi Code CLI and its local Web interface.
Prerequisites
Windows needs WinGet (bundled with Windows 11); macOS / Linux need no extra setup.
1. Install
Install Kimi Code CLI with WinGet on Windows:
winget install --id MoonshotAI.KimiCodeCLI -eOn macOS or Linux, run the appropriate installer from the official Kimi Code installation page.
2. Configure
Kimi Code CLI and Kimi Web share the same config.toml:
default_model = "getrun-model"

[providers.getrun]
type = "openai"
base_url = "https://api.get-apikey.com/v1"
api_key = "sk-xxxxx-xxx"

[models.getrun-model]
provider = "getrun"
model = "YOUR_MODEL"
max_context_size = 128000
Replace sk-xxxxx-xxx and YOUR_MODEL with actual values. getrun-model is the alias selected inside Kimi Code.
Windows
$kimiHome = if ($env:KIMI_CODE_HOME) { $env:KIMI_CODE_HOME } else { Join-Path $HOME ".kimi-code" }
New-Item -ItemType Directory -Force -Path $kimiHome | Out-Null
notepad (Join-Path $kimiHome "config.toml")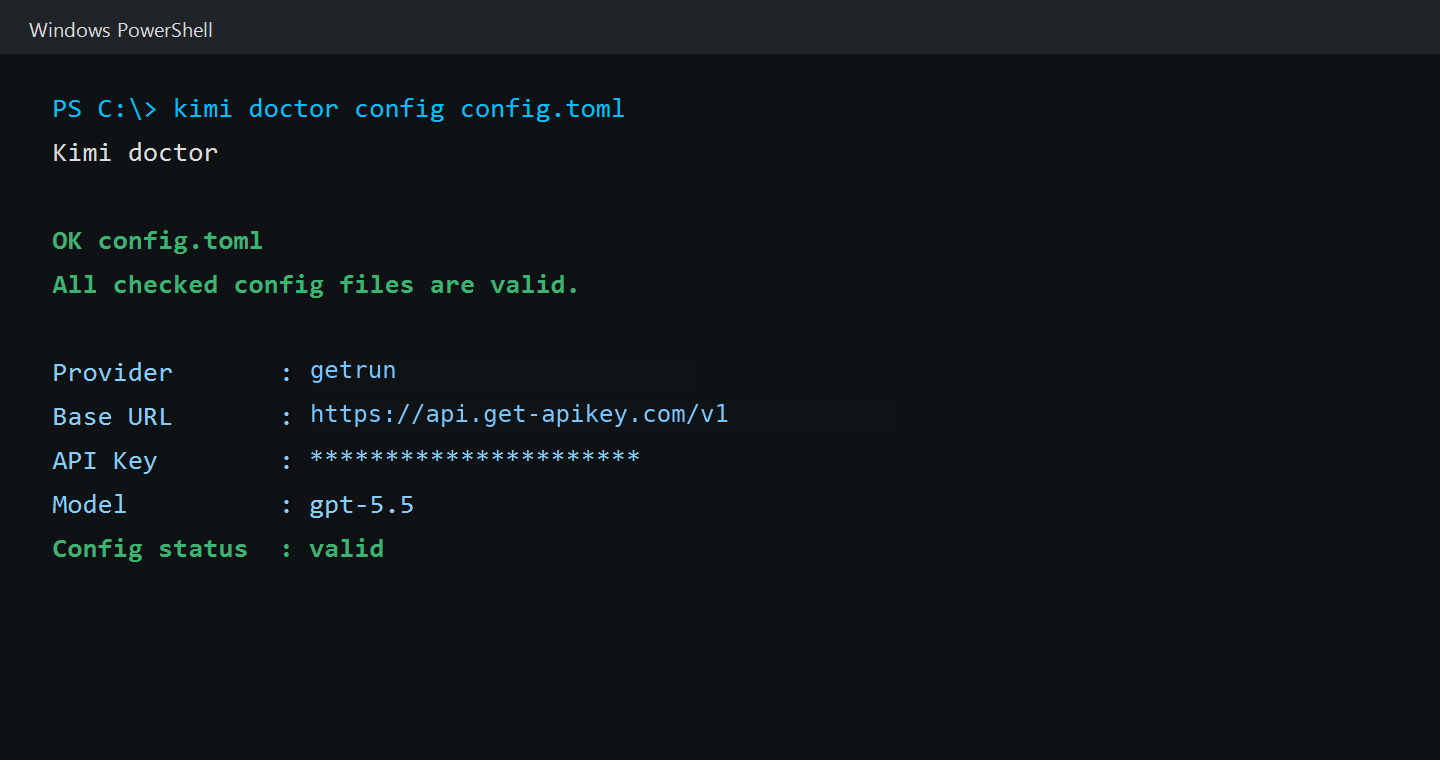
macOS / Linux
KIMI_DIR="${KIMI_CODE_HOME:-$HOME/.kimi-code}"
mkdir -p "$KIMI_DIR"
${EDITOR:-vi} "$KIMI_DIR/config.toml"
chmod 600 "$KIMI_DIR/config.toml"
3. Use the CLI
Start the interactive interface from your project directory:
kimi -m getrun-modelOn the first run, use the current project directory as the workspace. Later, running kimi without -m uses default_model.
You can also send one message and exit:
kimi -m getrun-model -p "Reply only with OK"The CLI has loaded the configuration and connected to the model when it replies OK.
4. Use the Web interface
Run the following command from the directory you want to use as the workspace:
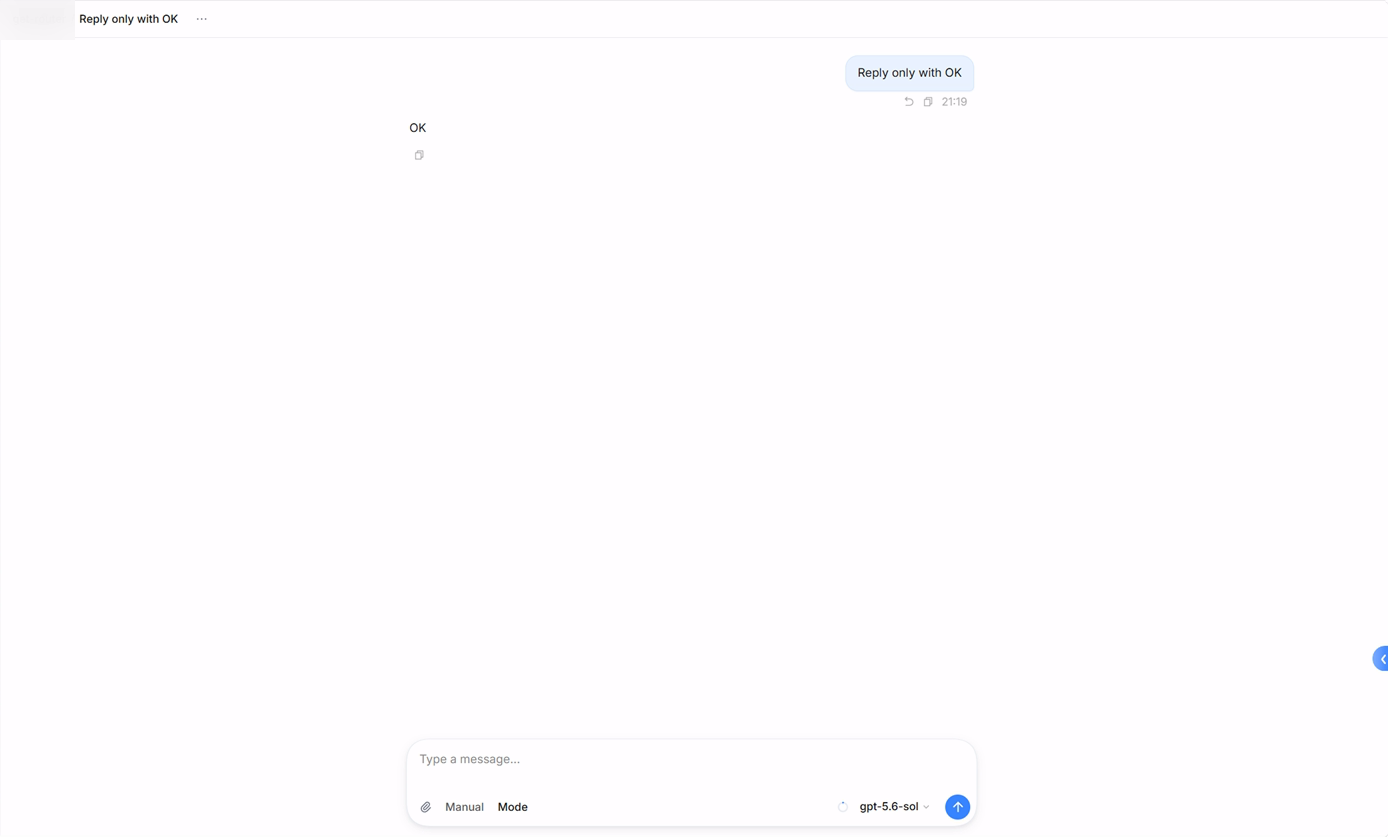
kimi webKimi Code starts a local service and opens it in the browser. On the first visit, select English, the appearance, and the accent color, then click Get started.
- Select the current workspace in the sidebar, or click Add workspace and choose the project directory.
- Click New Chat.
- Confirm that the configured
YOUR_MODELappears at the lower right of the message box. - Send “Reply only with OK”. The Web interface is ready when the reply is
OK.
Windows